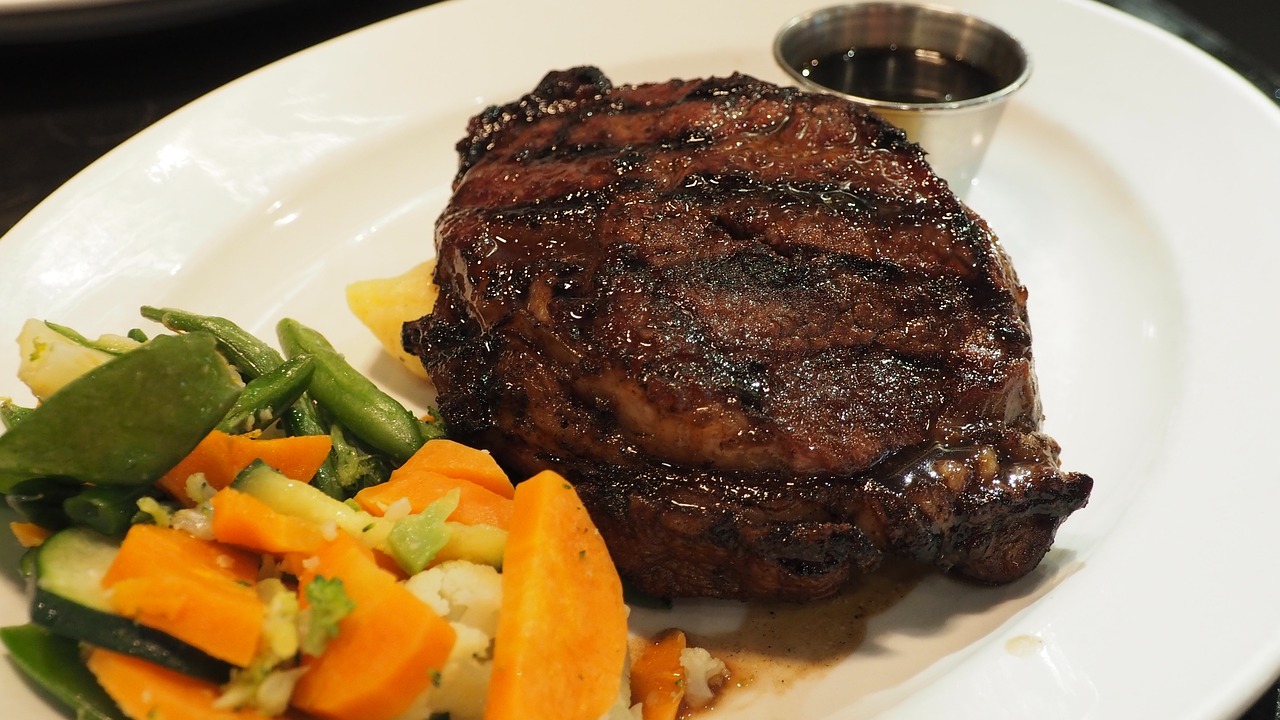
The sizzle of a steak hitting a hot grill or pan is one of the most satisfying sounds in cooking. Achieving a perfect sear not only enhances the flavor but also adds a beautiful crust to your steak. Whether you’re using a grill, cast-iron skillet, or stainless steel pan, the principles of getting a good sear remain the same. In this guide, we’ll delve into the science and techniques behind achieving a perfect sear on your steak.
Understanding the Science Behind Searing
The process of searing a steak involves a chemical reaction known as the Maillard reaction. This reaction occurs when proteins and sugars in the meat are exposed to high heat, resulting in a complex array of flavors and a crispy, browned crust. It’s important to note that searing does not seal in juices, as often claimed, but it does create a flavorful crust that enhances the overall taste of the steak.
Choosing the Right Cut
Not all steaks are created equal when it comes to searing. While any steak can be seared, some cuts respond better to high-heat cooking. Ribeye, strip steak, T-bone, and filet mignon are excellent choices due to their marbling and tenderness. These cuts are well-suited for high-heat searing and will develop a beautiful crust while remaining juicy and tender inside.
Preparing the Steak
- Thawing and Pat Dry: If your steak is frozen, ensure it’s completely thawed before cooking. Patting the steak dry with paper towels is crucial. Excess moisture on the surface of the meat can prevent proper searing and lead to steaming instead of browning.
- Seasoning: Season your steak generously with kosher salt and freshly ground black pepper. Salt helps to draw moisture from the surface, aiding in the formation of a crust. Some chefs prefer to season the steak and let it rest for about 30 minutes to an hour, allowing the salt to penetrate the meat.
- Bringing to Room Temperature: Allow your steak to come to room temperature before cooking. This ensures even cooking and reduces the risk of the exterior overcooking while the interior remains underdone.
Selecting the Right Cooking Equipment
For a perfect sear, you need the right tools. Here are a few options:
- Cast-Iron Skillet: Known for its excellent heat retention, a cast-iron skillet is ideal for searing steaks. Preheat the skillet until it’s smoking hot.
- Grill: If you prefer grilling, ensure your grill grates are clean and preheated to high heat. A two-zone fire setup is beneficial, allowing you to sear over direct heat and then finish cooking over indirect heat if necessary.
- Stainless Steel Pan: Stainless steel pans also work well for searing. Preheat the pan over medium-high heat until it’s hot enough to create a good sear.
The Searing Process
- Preheating: Preheat your chosen cooking equipment. The pan or grill must be hot enough to create a sear. You’re looking for temperatures between 450°F and 500°F. This high heat ensures the Maillard reaction occurs quickly, forming that coveted crust.
- Adding Oil: Use a high-smoke-point oil like canola, vegetable, or grapeseed oil. Add a small amount of oil to the pan or brush it onto the grill grates. This prevents the steak from sticking and helps in achieving a good sear.
- Searing the Steak: Place the steak onto the hot surface. Do not move it around. Let it sear undisturbed for 2-3 minutes per side, depending on the thickness of the steak. This time allows the crust to form. Use tongs to flip the steak, ensuring even cooking.
- Checking the Crust: After flipping, check the sear on the first side. It should be a deep, golden brown. If it’s not, you may need to increase the heat or let it cook a bit longer.
Finishing the Steak
- Internal Temperature: Use a meat thermometer to check the internal temperature. For a medium-rare steak, aim for 130°F to 135°F. Remember, the steak will continue to cook after being removed from the heat, known as carryover cooking.
- Resting: Let the steak rest for at least 5-10 minutes after cooking. This allows the juices to redistribute throughout the meat, ensuring a juicy and flavorful steak.
Enhancing Flavor
- Butter Basting: For added richness, consider basting your steak with butter during the last minute of cooking. Add a few cloves of crushed garlic and sprigs of thyme or rosemary to the pan for an aromatic boost.
- Finishing Salt: Sprinkle a pinch of finishing salt, like flaky sea salt, on the steak just before serving. This adds a final touch of flavor and texture.
Serving Suggestions
- Slicing Against the Grain: When serving, slice the steak against the grain. This breaks up the muscle fibers and ensures each bite is tender.
- Pairing: Pair your steak with classic sides like garlic mashed potatoes, roasted vegetables, or a fresh salad. A robust red wine, such as Cabernet Sauvignon or Malbec, complements the rich flavors of the steak.
Troubleshooting Common Issues
- Steak Sticking to the Pan: Ensure your pan or grill is adequately preheated and that you’ve used enough oil. If the steak is sticking, it may not be ready to flip. Give it another minute or so.
- Uneven Sear: If the sear is uneven, it could be due to an uneven heat source. Rotate the steak and adjust the heat as needed. A thicker steak may require finishing in the oven to ensure even cooking.
- Overcooking: To avoid overcooking, always use a meat thermometer. Err on the side of undercooking, as you can always cook the steak a bit more, but you can’t undo overcooking.
Conclusion
Achieving a perfect sear on a steak is a skill that can be mastered with practice and attention to detail. By understanding the science behind searing, selecting the right cut, preparing the steak properly, and using the right equipment, you can create a steak that is beautifully seared, flavorful, and tender. Remember, the key is high heat, minimal movement, and allowing the steak to rest before serving. With these tips and techniques, you’ll be able to impress your guests and enjoy restaurant-quality steak at home.
Happy cooking!


